
Партнерка на США и Канаду по недвижимости, выплаты в крипто
- 30% recurring commission
- Выплаты в USDT
- Вывод каждую неделю
- Комиссия до 5 лет за каждого referral
1. Installation of Avaya Solution Designer Application Software Version 5.0.0
1st time installation from the Avaya Solution Designer Tool web page
This installation only supports Windows NT 4.0, Windows 2000 and Windows XP users and requires installation under an account with administrator privileges.
1. Shutdown all unnecessary applications.
2. Open Windows Explorer and access the location of the Avaya Solution Designer Tool installation program from your web download on your local hard drive.
3. Double-click on the trilogylite. exe file to start the installation. 
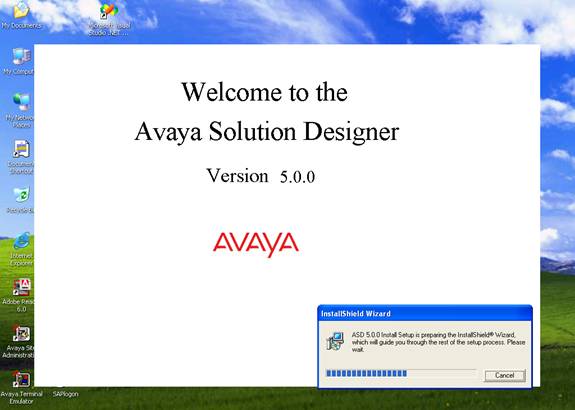
4. Once the setup files have been prepared and the initial welcome screen has been displayed, the following screens will appear:
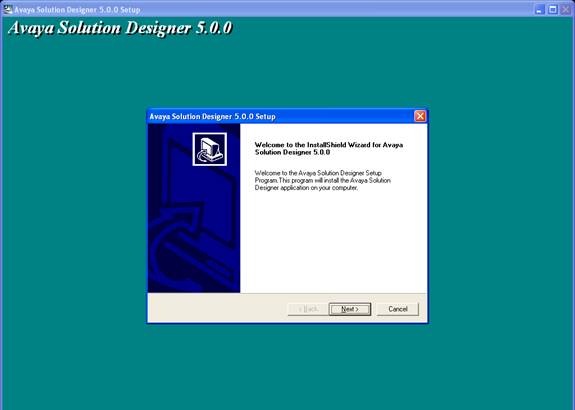
5. Click on Next to continue with the installation. The following screen will appear:
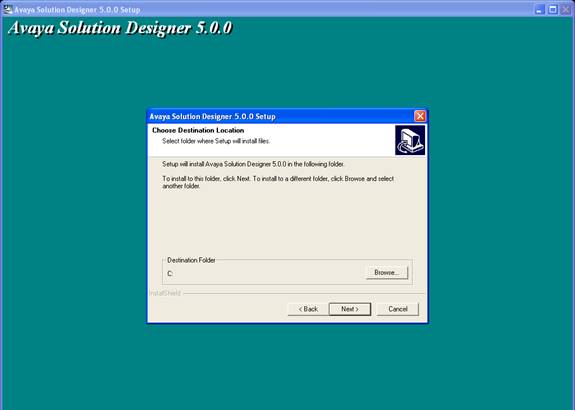
Note: This installation requires 45 MB of free disk space. Keep this in mind when choosing the installation location.
6. The installation program will create 3 folders (ges, mqm, trilogy) under the destination folder chosen and all application files will be copied to these folders. There is no need to change the default destination location unless a drive other than C: is desired. Click on Next to continue and the following confirmation message will appear:
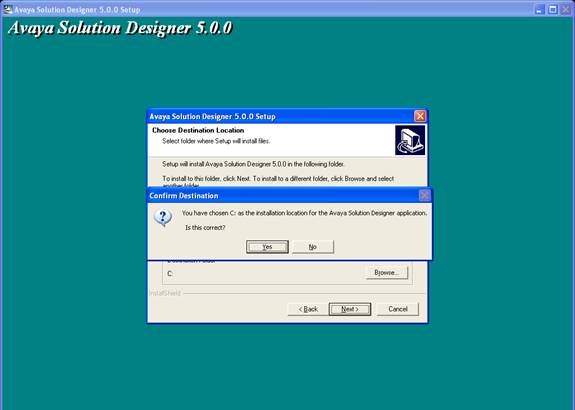
7. Click on Yes to accept the chosen installation location or No to change it. Once the installation location has been confirmed, the following screen will appear:
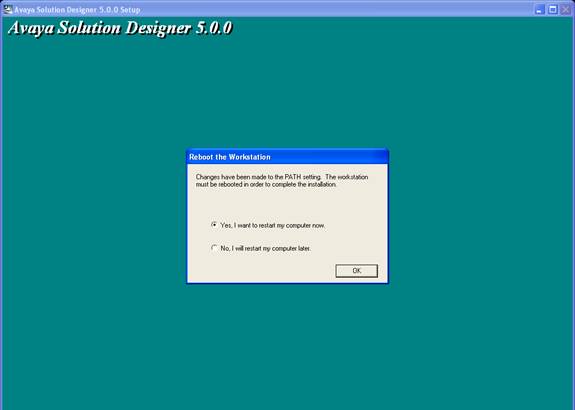
8. The workstation must be rebooted so the Avaya Solution Designer installation can continue. This can be done now or at a later time.
9. Once the workstation has been rebooted, the initial welcome screen will appear followed by the following:
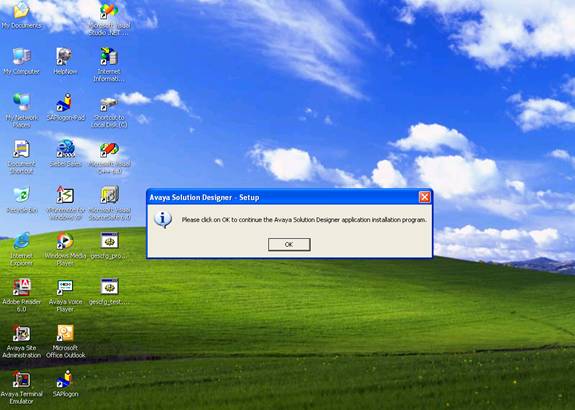
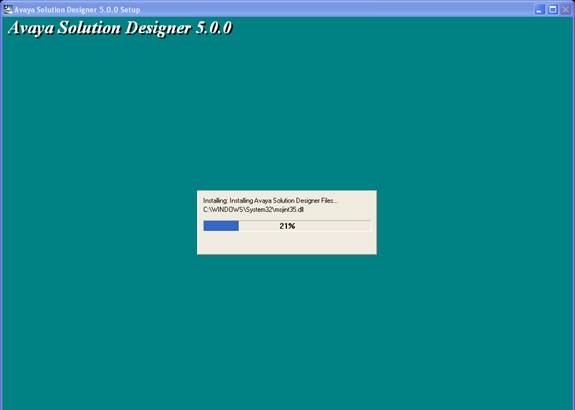
10. Click on OK to continue the installation. The following screen appears as the files are being installed on the workstation:
11. Once the all the files have been installed, the following screen will appear:

12. Select the appropriate SAP environment. If you are not an Avaya SAP user you can use the B1P default and click on Next. Only one SAP environment can be selected. Please note that B1P is the production environment for US based users and I2P is the production environment for International users. After choosing the SAP environment, click on Next and the following screen will appear:
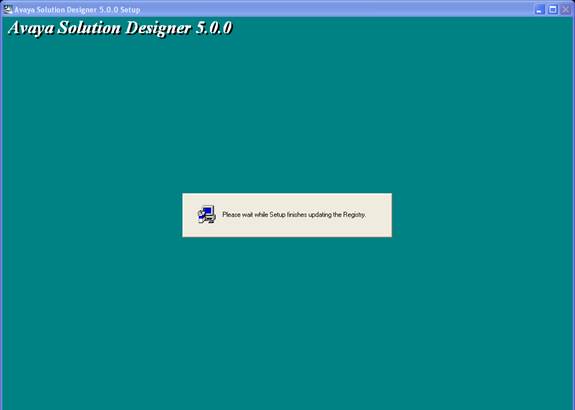
13. Once the registry updates have completed, the Finish screen will appear:
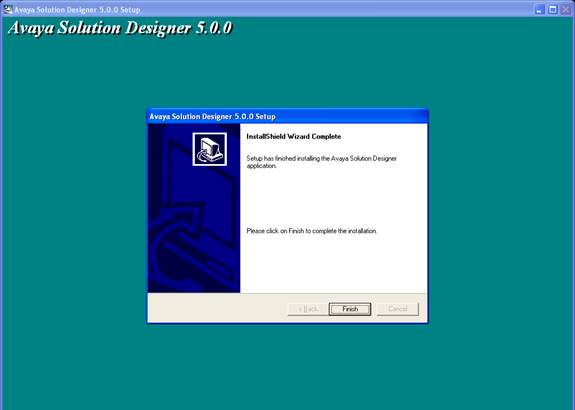
14. Click on Finish to complete the installation. A reboot is not necessary before using the Avaya Solution Designer application. You will also see a new icon added to your desktop, which will allow you to launch the Avaya Solution Designer.

2. Monthly Avaya Solution Designer Tool Updates
1st time installation from the web or Avaya provided CD must include this step to add the Avaya Solution Designer Models to your PC. Additionally, each month Product Updates will be available on the web and should be downloaded to remain current. These steps support 1st time installations as well as subsequent monthly updates.
For all Windows NT 4.0, Windows 2000 and Windows XP, this installation program must be run with administrator privileges.
1. Shutdown all unnecessary applications.
2. Open Windows Explorer and access the location your web download of the Monthly Avaya Solution Designer Tool Update installation program on your local hard drive.
3. Double-click on the asd_b1pcis. exe file to start the installation.

4. This progress box will appear.
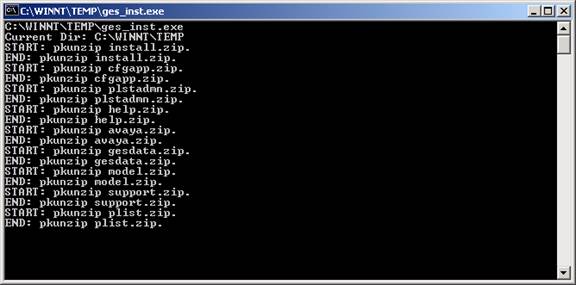
5. This Command Window will appear showing the extraction of the new monthly product updates. Once this window disappears, your Avaya Solution Designer Product has been updated.
3. Monthly ASD Product Models Updates
1st time installation from the web or Avaya provided CD must include this step to add the ASD Product Models to your PC. Additionally, each month Product Updates will be available on the web and should be downloaded to remain current. These steps support 1st time installations as well as subsequent monthly updates.
For all Windows NT 4.0, Windows 2000 and Windows XP, this installation program must be run with administrator privileges.
1. Shutdown all unnecessary applications.
2. Open Windows Explorer and access the location your web download of the ASD Product Models & Price File Update installation program on your local hard drive.
3. Double-click on the asd_b1pmodel. exe file to start the installation.
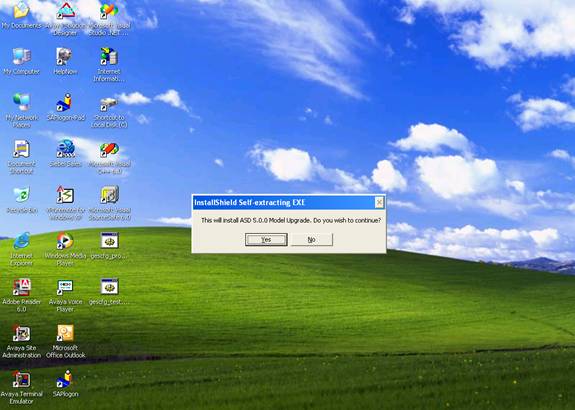
4. Click on Yes in the messagebox to confirm that ASD Model Upgrades Package needs to be updated on your PC.
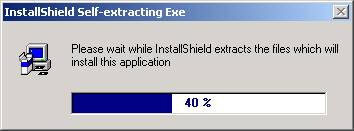
5. This progress box will appear.
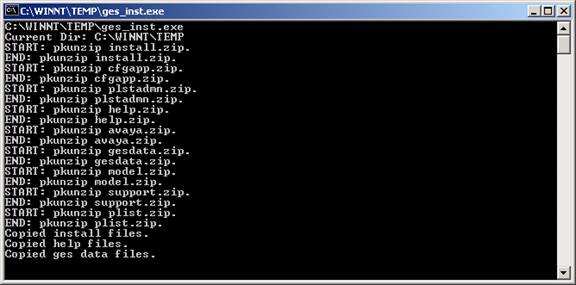
6. This Command Window will appear showing the extraction of the new monthly model updates. Once this window disappears, your ASD Product Models have been updated.
4. Weekly ASD Product Pricing Updates
1st time installation from the web or Avaya provided CD must include this step to add the ASD Avaya NPL Pricing to your PC. Additionally, each month Pricing Updates will be available on the web and should be downloaded to remain current. These steps support 1st time installations as well as subsequent monthly updates.
1. Shutdown all unnecessary applications.
2. Open Windows Explorer and access the location your web download of the Weekly ASD Product Pricing Update installation program on your local hard drive.
3. Double-click on the asd_b1pplist. npl file to start the installation. The following messagebox will appear:
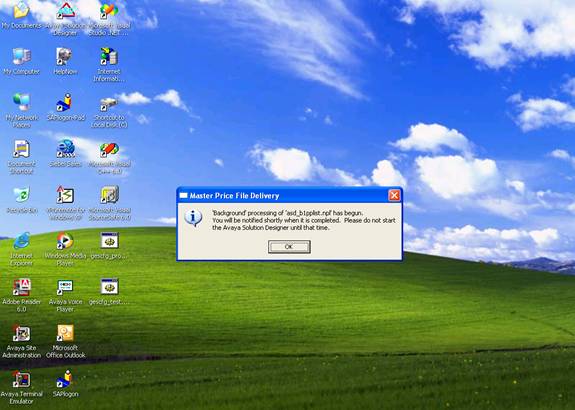
4. Click on OK in the messagebox and wait for the confirmation that the material and/or pricing information to complete downloading.
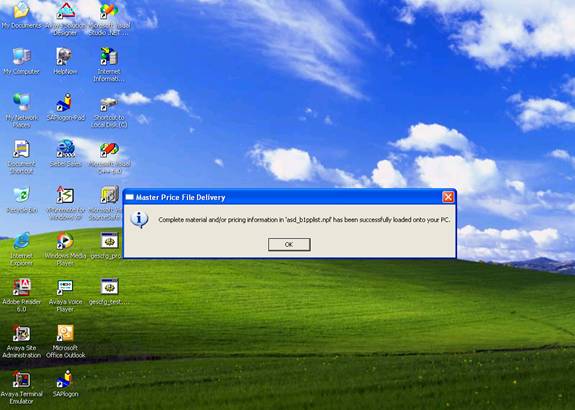
5. Click on OK and you can begin using the ASD Product Design Tool (Avaya Solution Designer).
5. Installation Troubleshooting
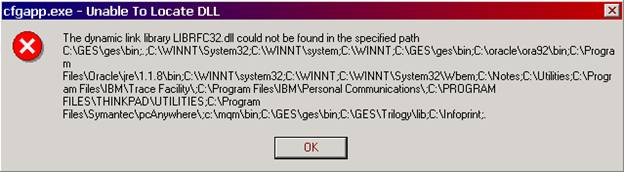
*****n Error cfgapp. exe – Unable to Locate DLL
***NOTE***
If you should receive an error similar to the following when first running the Avaya Solution Designer, you will need to copy the “LIBRFC32.DLL” file from the CD to your “C:WINNT\system32” folder:
5.2. Reloading ASD Product Design Tool
If users experience issues with a corruption of the ASD Design Tool, you must uninstall the both the Avaya Price List Administration Tool (PLAT) and Avaya Solution Designer Tool prior to attempting a reinstallation of either application. Users may or may not have the Avaya PLAT tool installed on their PC.
1. If the PLAT tool is installed please uninstall it first per the instructions below.
2. Uninstall the ASD Design Tool or GES Configurator per the ASD uninstallation document.
3. Re-Install the ASD Design Tool per the appropriate instructions described in section 3 of this installation guide.
Price List Administration Uninstallation Instructions
For all Windows NT 4.0 and Windows 2000 users, this installation program must be run with administrator privileges.
1. Shutdown all unnecessary applications.
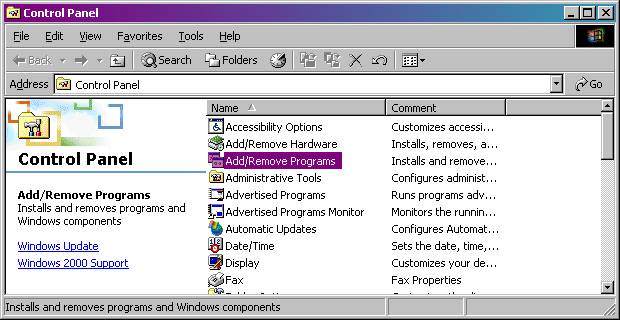
2. Click on Start and select Settings >> Control Panel.
3. Double-click on Add/Remove Programs from the “Control Panel” window.
4. Locate Price List Administration Tool 1.4.3 and click on Change/Remove. The following screen will appear:
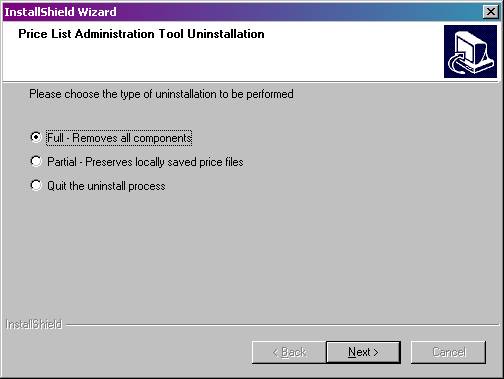
Full – This option will remove all components including any price files that have been downloaded and saved to this workstation.
Partial – This option will remove all components with the exception of any price files that have been downloaded and saved to this workstation.
Quit – This option will quit the uninstallation program.
5. Choose the type of uninstallation you would like to perform and click on Next. The following confirmation will appear:
6. Click on Yes to continue or NO to quit the uninstallation program. The following screen will appear:
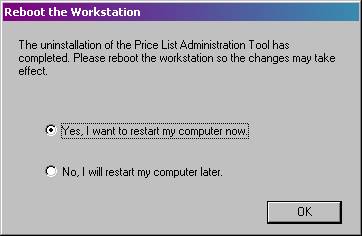
7. Once complete, the workstation needs to be rebooted before re-installing the Price List Administration Tool. You may choose to reboot now or at a later time.
