
Партнерка на США и Канаду по недвижимости, выплаты в крипто
- 30% recurring commission
- Выплаты в USDT
- Вывод каждую неделю
- Комиссия до 5 лет за каждого referral

USER MANUAL FOR DICTATENOW AUTHOR SOFTWARE
V2.60
April 2012
Welcome to DictateNow
Welcome to DictateNow the number one digital dictation/outsourcing service in the UK.
This manual describes the DictateNow Authoring software, V2.60. It is this software which allows you to send a dictation, whether the dictation is going out to one of our typists, or to your own secretary.
Contact details:
Phone: 0845 601 7726
Fax: 07092 024 222
E-mail: *****@***com
Web site: www.
DictateNow user portal: admin.
Address:
DictateNow
DictateNow House
2 Delta Court
Manor Way
Borehamwood
Hertfordshire
UK
Starting DictateNow & logging in
To run the DictateNow software, click on the DictateNow icon
The icon can be found either by:-
1. Clicking START, All Programs, DictateNow, DictateNow Author
Or
2. Click on the shortcut on your desktop.
When the software starts you will be presented with the screen below.
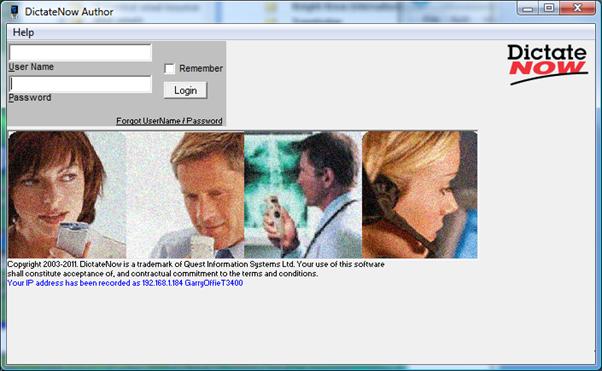
If you don’t have your User Name and Password please contact DictateNow on 0845 601 7726 or email *****@***com.
Click the Login button to login.
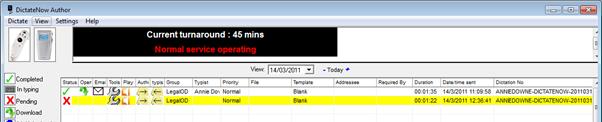
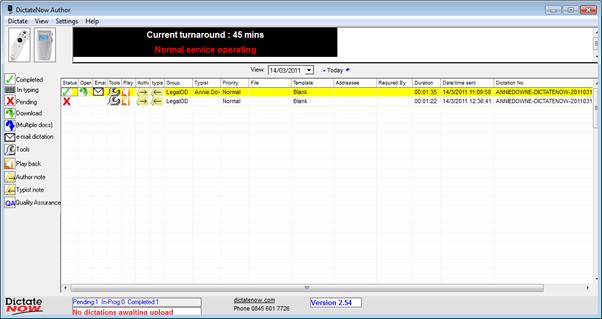
Once you have logged in, the following screen is displayed.
This is a “Live” screen that will be updated every time your dictations are uploaded, typed or completed.
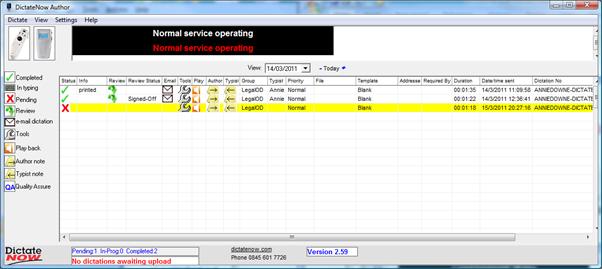
The dictation appears on the DictateNow Author screen after it has been uploaded.
Pending –
![]()

For Pending dictations (indicated with the red X) you can change the priority of the dictation, put the dictation on hold and change the typist the dictation is sent to by clicking on the spanner icon under Tool.
In Typing -
![]()

When the dictation is in typing a keyboard icon appears under status.
You will also see the name of the typist (for internal and outsourced dictations).
QA – Quality Assurance
For dictations that are outsourced to DictateNow, an additional step will be present in the workflow of a dictation.
Following completion of the typing, the dictation will be given a status of QA. This means that the dictation is being checked by DictateNow’s QA Legal team.
Once the dictation has passed QA, it will move on to ‘Completed’.
Completed –
![]()

When the dictation is completed, a green tick appears in the status box. If the work has been outsourced you can now access the transcription by clicking on the down arrow under Open or have the transcription emailed to you by clicking on the Envelope icon under Email.
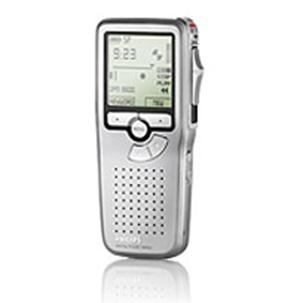
Dictation Using the Philips handheld dictation machine
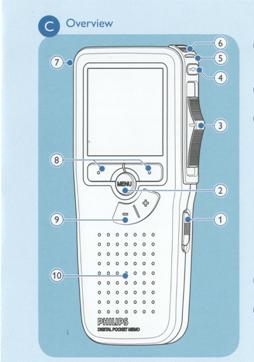
1. On/Off
2. Menu
3. Slide Switch
(fast forward, play/record, stop, rewind)
4. Record
5. Record Indicator Light
6. Microphone / End-of-Letter
7. Smart Buttons
8. +/- Menu Navigation/Volume
9. Speaker
Record your dictation and place the Philips dictation machine in the docking station.
Click on the Philips portable dictation machine icon on the DictateNow Author Screen, the following screen will appear.

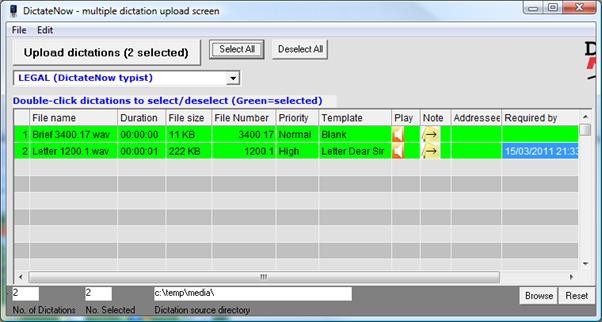
This screen will display all the dictations stored on the Philips.
Enter File No. / Client reference
Click once on the “File No” blank space to enter your file or client reference (optional).

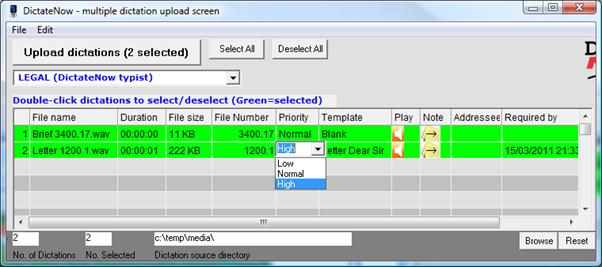
Set Priority
To change the priority, click in the appropriate cell and choose from the drop down menu.
Set Template
 a. Single click on template
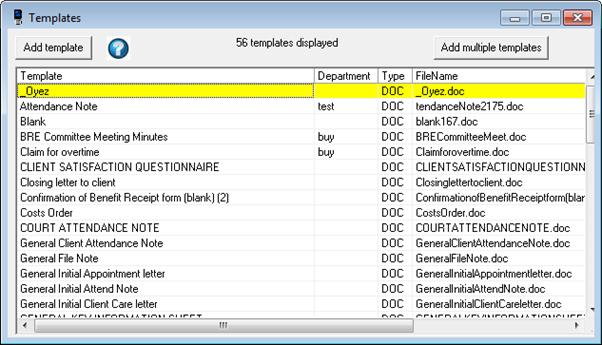
b. The following screen will pop up. (The exact contents of this screen will depend on the templates & departments that your firm has setup).
Templates are displayed by Department (Commercial property / Costs etc. in the screen below).
Selecting a template
Click on one of the ‘tree branches’ and select the required template.
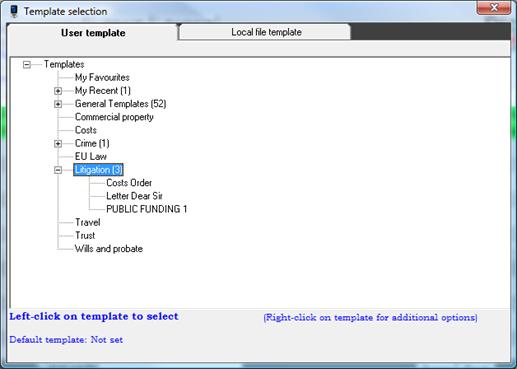
Setting a default template
Right-click on a template and select “Set template as default”.
Recent Templates
These are the most recently used templates.
Favourites Templates
These are your favourite templates.
To add, right click on a template and select ‘Add template to My Favourites’.
View Template
Select a template to view, then click on the “View” button.
This will open the template in Microsoft Word.
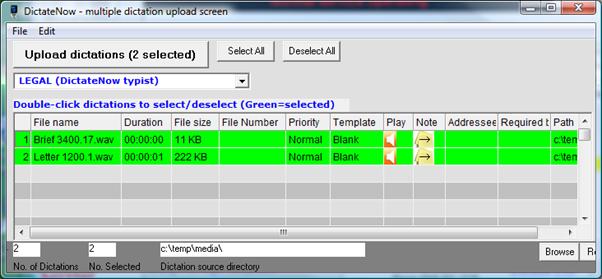
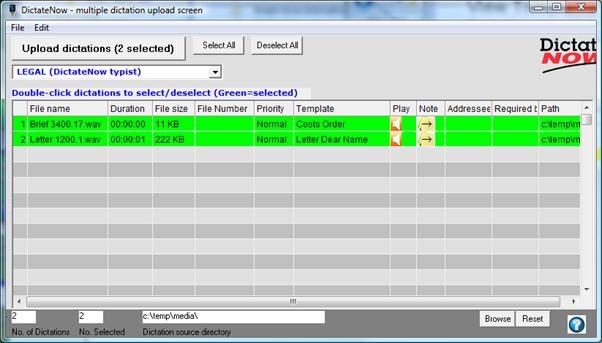
Uploading the dictation
a. Check that you have the correct file references and templates for the dictation/s
 b. Ensure the dictation/s are highlighted in green. To select all displayed dictations, click on the Select All button. Alternatively, double click on a dictation to select / deselect it.
 c. Click the “Upload” button to send the dictation/s to DictateNow or to an
internal typist.
Managing templates
Managing templates
1. Select “’View’ and ‘Template management’
2. The following screen will be displayed.
3. Add a new template
a. Click on the “Add template” button
b. Enter a template name
d. Browse a template
e. Click the “Save” button to upload the template or “Cancel” to cancel adding
a template.
4. Edit template name and document
a. Highlight the template which you wish to edit
b. Single click on “Edit”
c. You can edit the template name in the text box below
Change department using drop down list
To edit the document, click the “Open” button this will open Microsoft Word,
you can edit the document, save and close Microsoft Word, then click “Save”.
To cancel editing click the “Cancel” Button
5. View and delete a template
a. To view a template, single click on “View”
This will open Microsoft Word.
b. To delete a template, single click on “Delete”
The following prompt will be displayed
Click “Yes” to delete, and “No” to cancel.
To change email address for returned transcription if outsourcing.

Click on ‘View’ and ‘Personal Details, the following screen will appear;
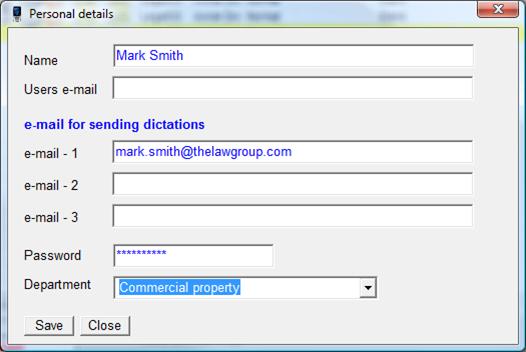
Change email address/add additional email addresses and click on ‘Save’. Then click on ‘Close’.
